Part Groups let you quickly apply and manage common settings for multiple parts at once. They serve as an internal management tool and are only accessible within the Management Module.
Table of Contents
Important Details
- Each Part can belong to only one Part Group, but grouping is optional. Parts with unique settings typically remain ungrouped.
- When a Part is added to a group, it automatically adopts the group’s shared settings - these are located in the tabbed section below the part name list.
- If parts do not share all of these shared settings, they should not be grouped.
Managing Groups
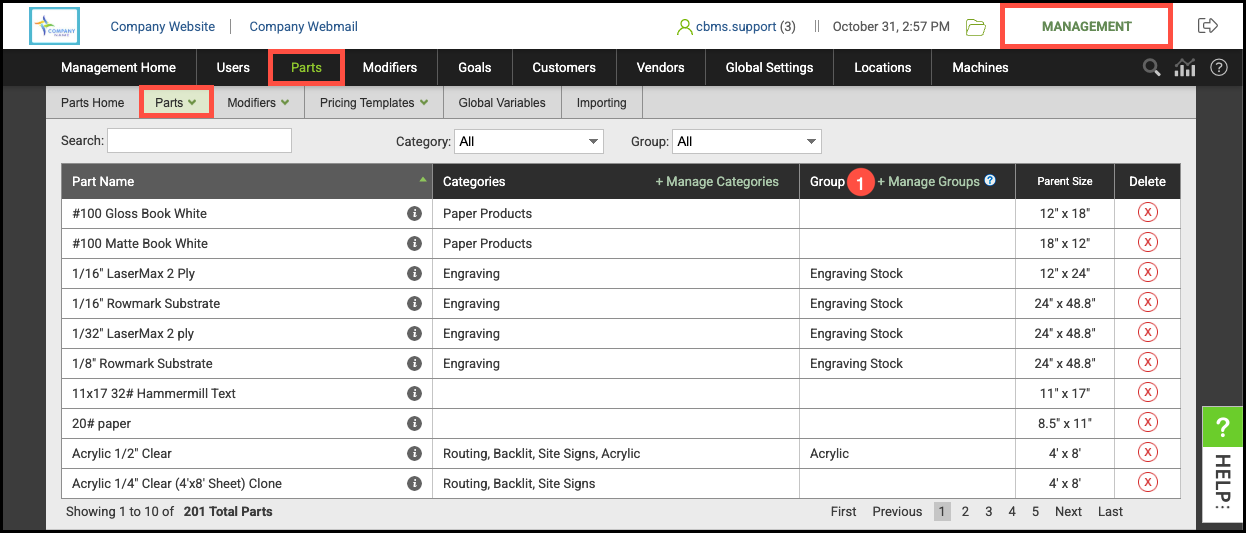
Navigate to the Management Module / Parts / Parts.
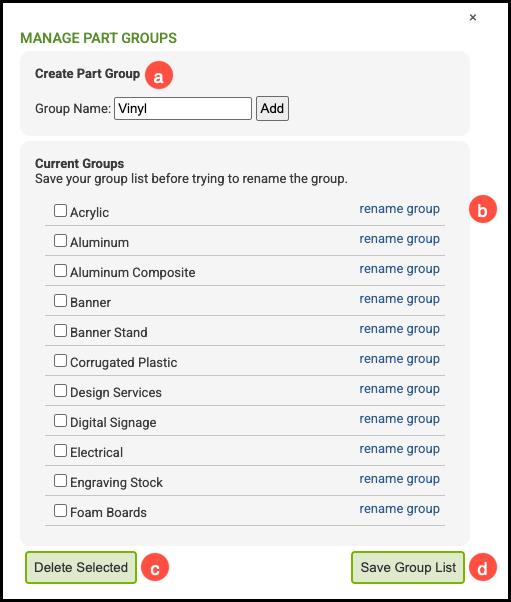
1. Click Manage Groups.
a. Part Groups can be created by typing a name in the field and clicking Add.
b. Groups can be renamed at any time by clicking here.
c. Part Groups can be deleted by selecting the appropriate group and clicking here.
d. Any changes made can be saved here.
Adding a Part to a Group
Navigate to Management Module / Parts / Parts and select the appropriate Part.
1. Click Add to Group.

2. Choose the group you want to add it to.
3. Click Save.
Note: This Part will inherit the group settings from its new group.

Removing and Re-assigning Parts
Navigate to the Management Module / Parts / Parts and select the appropriate Part.
1. Click Part Settings.

a. Remove From Group - This removes a Part from its current group. The Part will no longer be associated with any group.
b. Re-assign Group - This moves the Part from its current group to another group.
- A window will appear, allowing you to choose the new group for your Part
- The Part will move into that group and use that group's shared settings.
