Part Categories help organize your parts throughout the CoreBridge system, making them easier for users to locate and manage. A single Part can belong to multiple categories, allowing for flexible organization and quicker searches across modules. Common examples include Cut Vinyl, Print Vinyl, Envelopes, Banners, Electrical, Frames, Tradeshow, Vehicle, Decals, and Services.
Table of Contents
Managing Categories
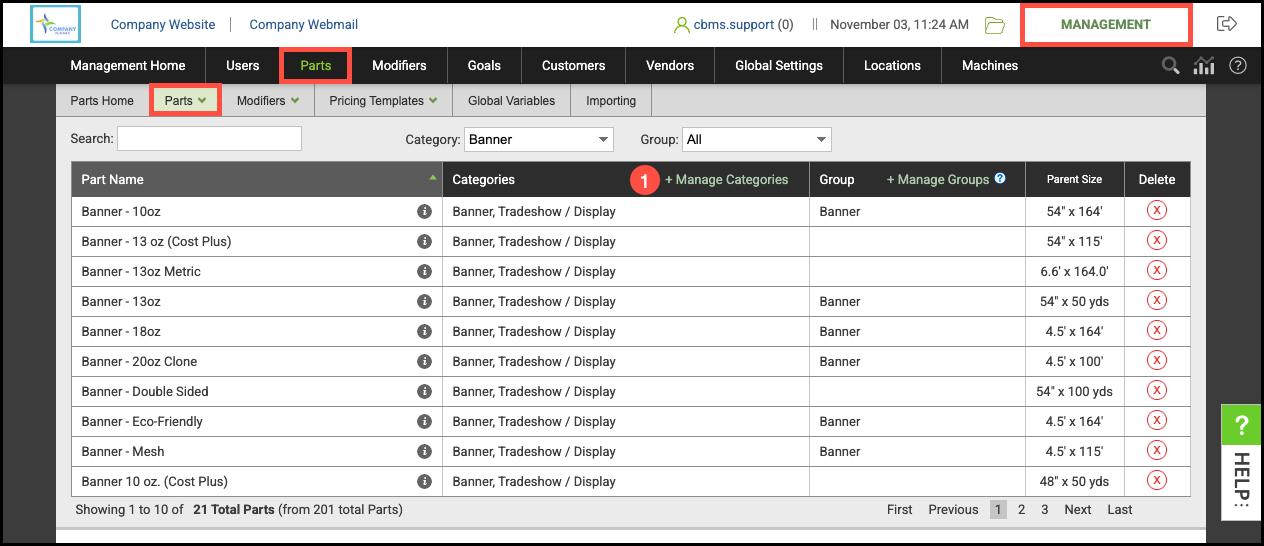
Navigate to the Management Module / Parts / Manage Parts.
1. Click Manage Categories.
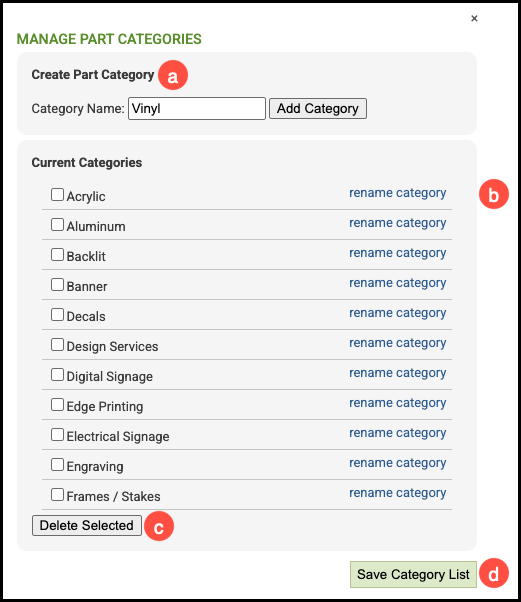
a. Part Categories can be created by typing a name in the field and clicking Add Category.
b. Categories can be renamed at any time by clicking here.
c. Part Categories can be deleted by selecting the appropriate group and clicking here.
d. Any changes made can be saved here.
Assigning a Part to a Category
Navigate to Management Module / Parts / Parts and select the appropriate Part.
1. Select the Categories tab.
2. Click Assign Part To Categories.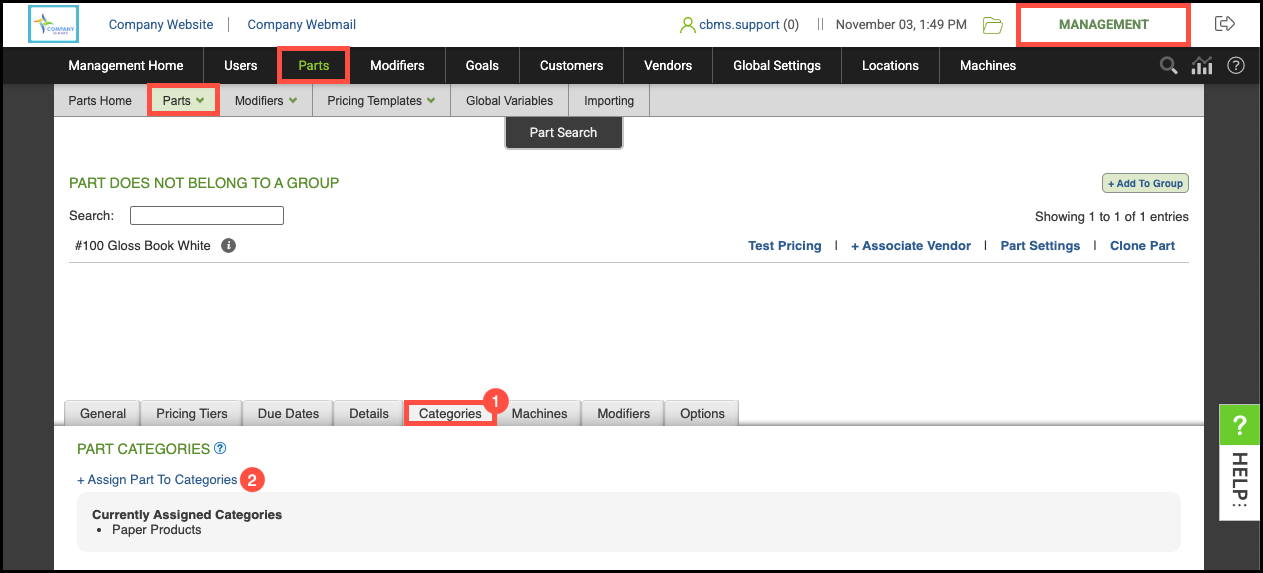
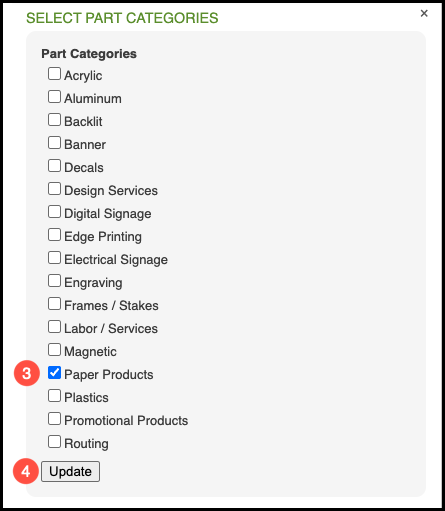
3. Check the box next to one or more Part Categories.
4. Click Update
Note: Part categories is a group setting. Categories selected will be assigned to all parts in a group.
Related Articles
Part Categories vs. Part Groups